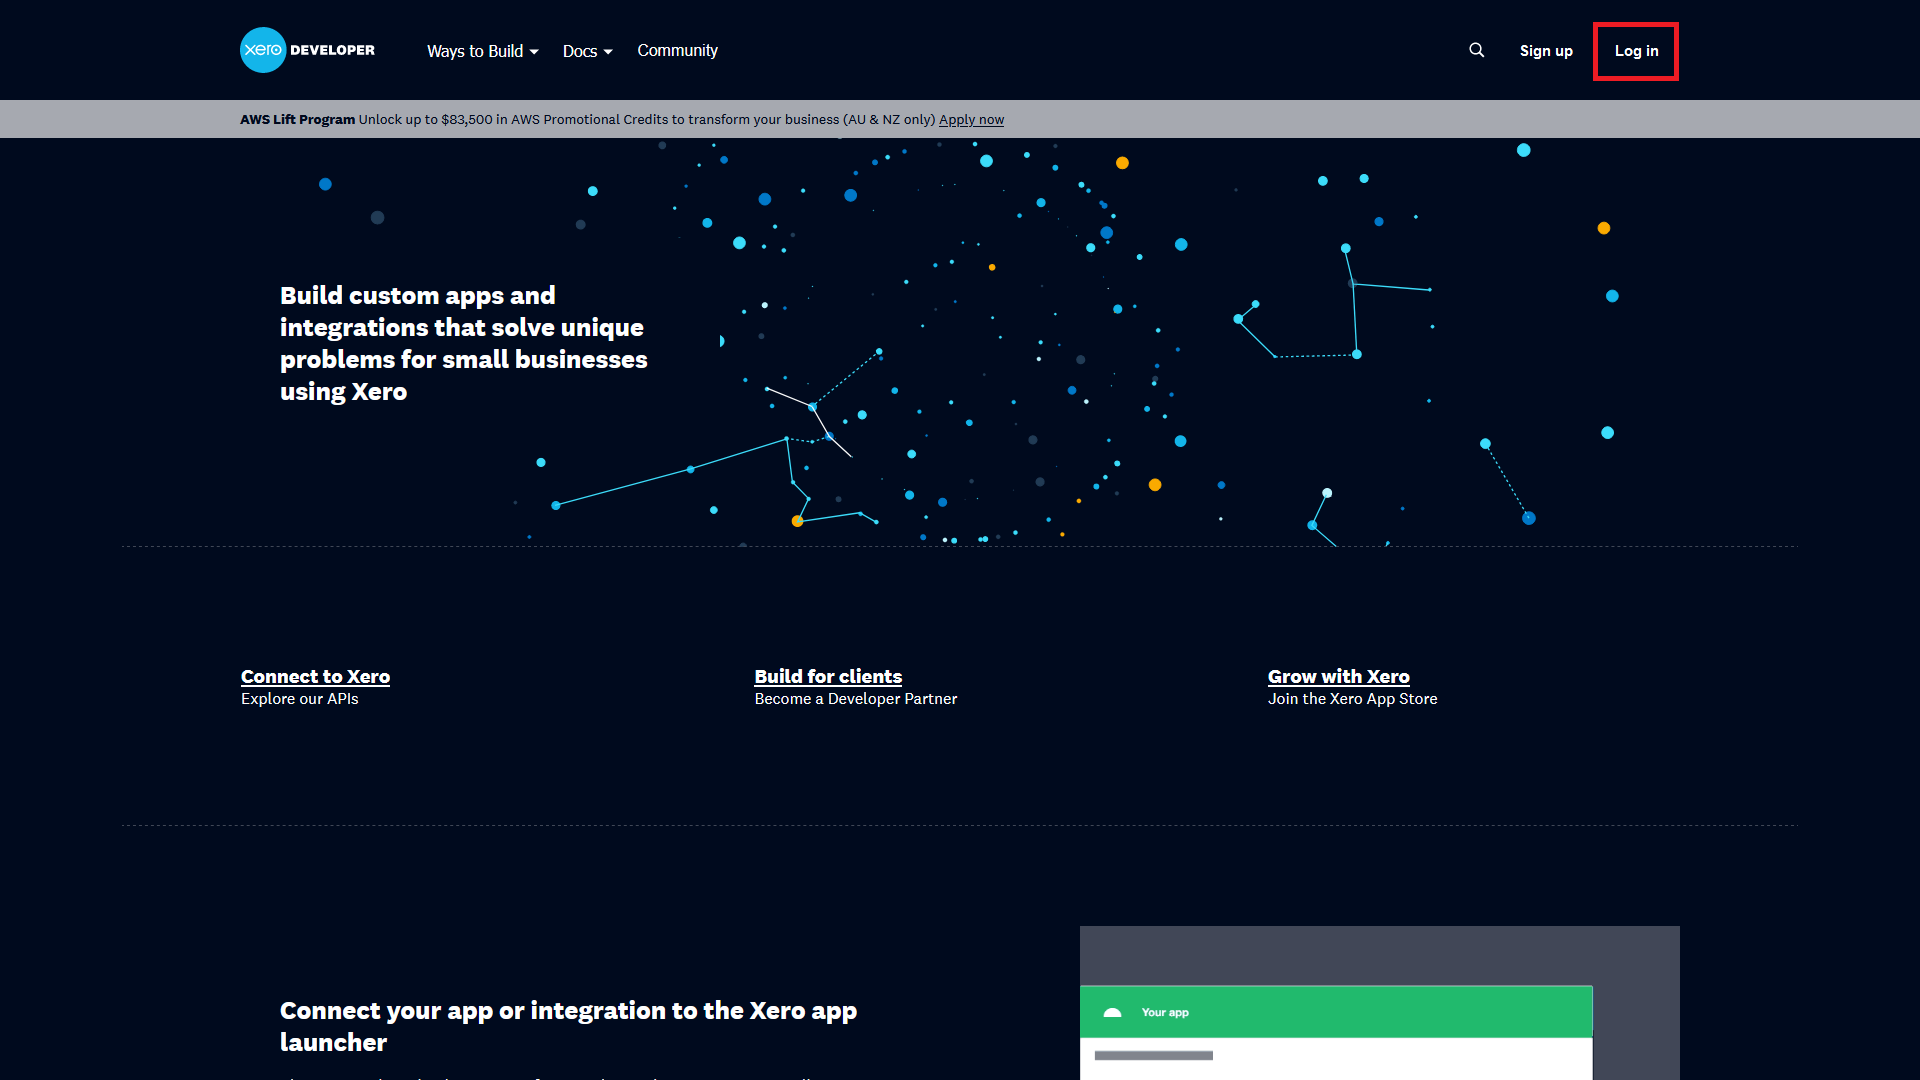
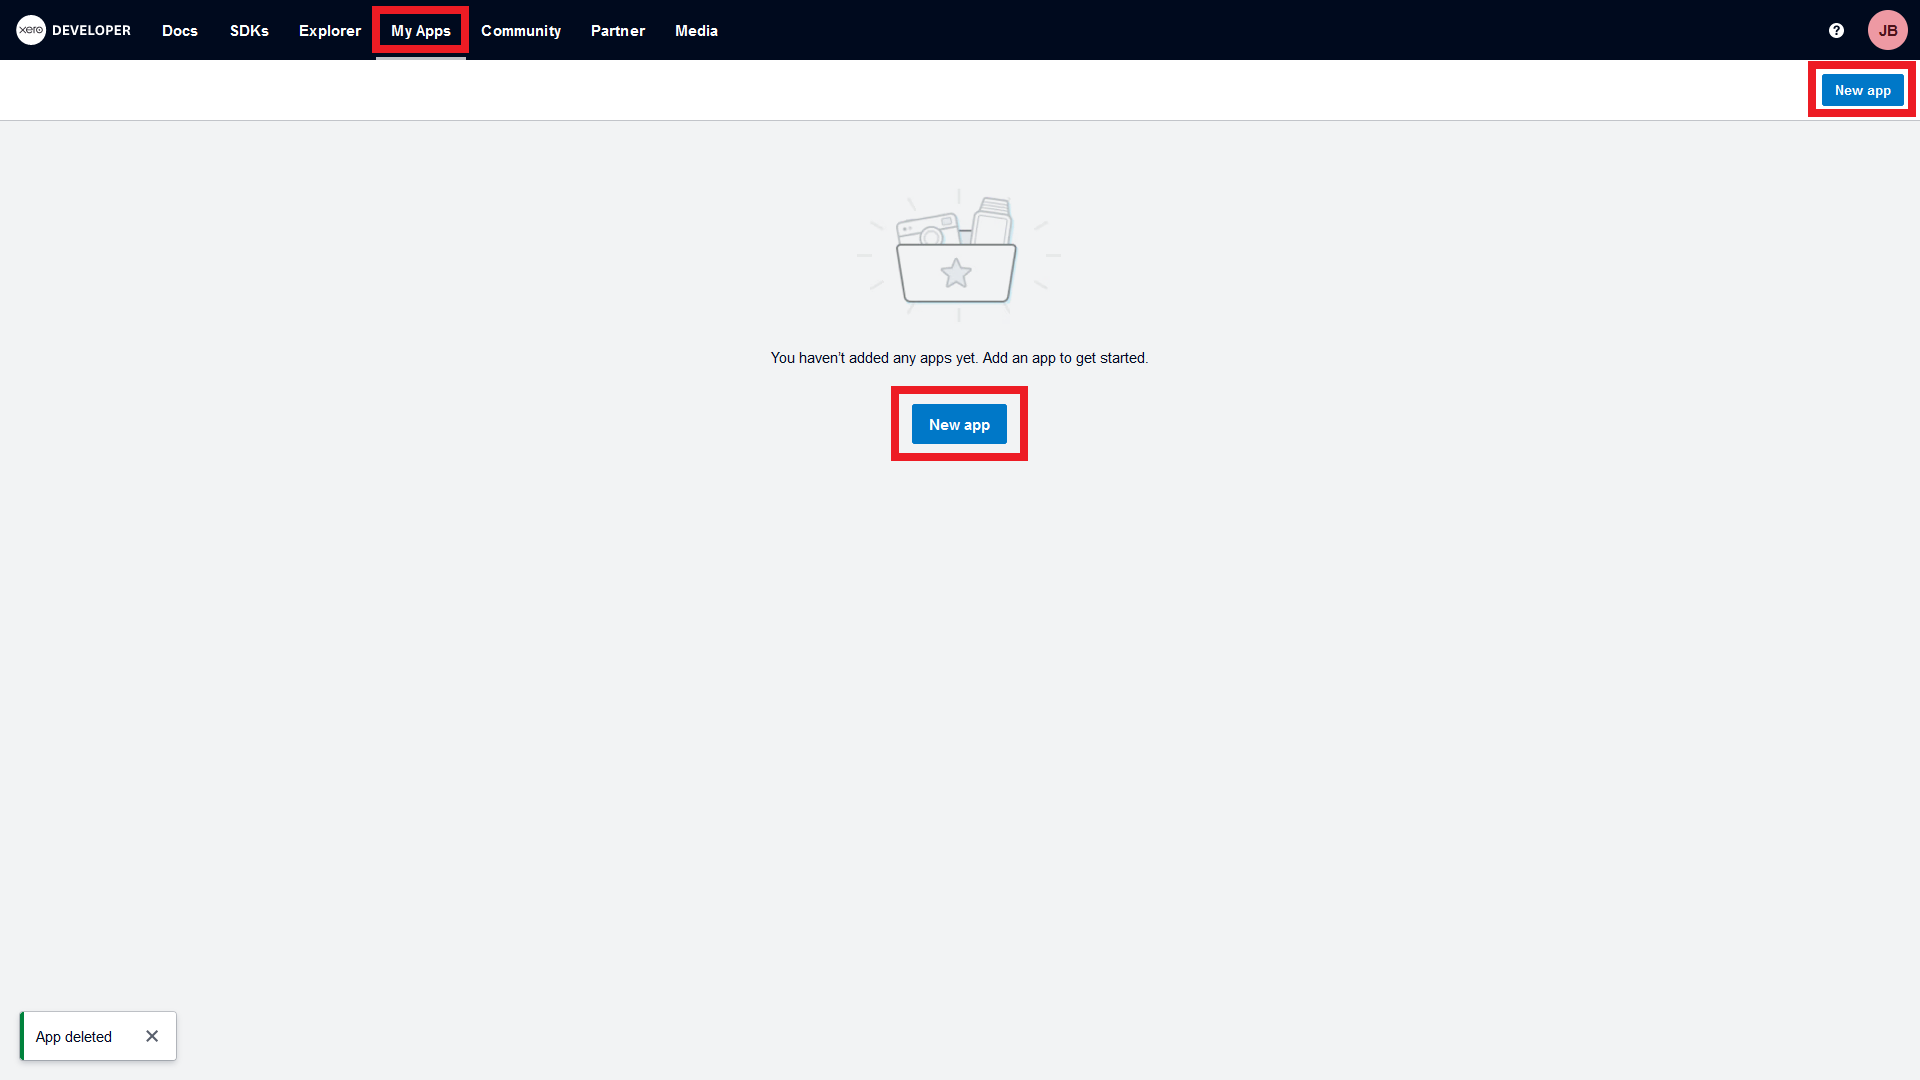
After logging in, go to the My Apps tab to access the Applications page.
After the page has loaded, press the New app button on the top-right corner, just
below your icon.
This will open a modal to set up the application.
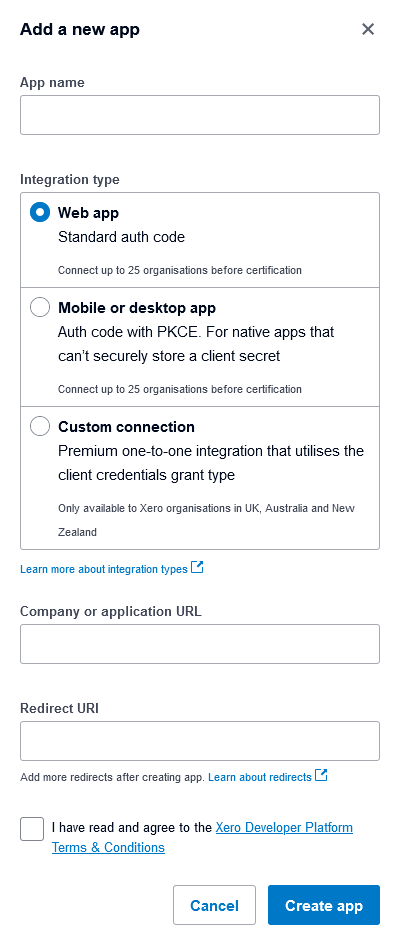
The New Application setup modal.
Once the modal opens, name your application as JPLL to associate it with the system.
Select the Web App option from the selection.
Enter https://jplltech.com in the Company or application URL field.
Enter https://jplltech.com/xero/connect in the Redirect URI field.
Read and agree to Xero Developer Platform Terms & Conditions and tick the checkbox.
Once everything is correct and set up, you can now press the CREATE APP
button.
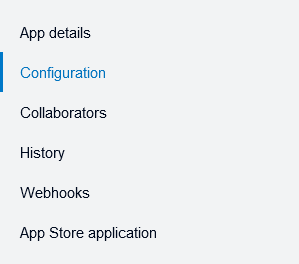
The Configuration bar for your Application.
After the application is created, go to the Configuration tab on the left side of the page.
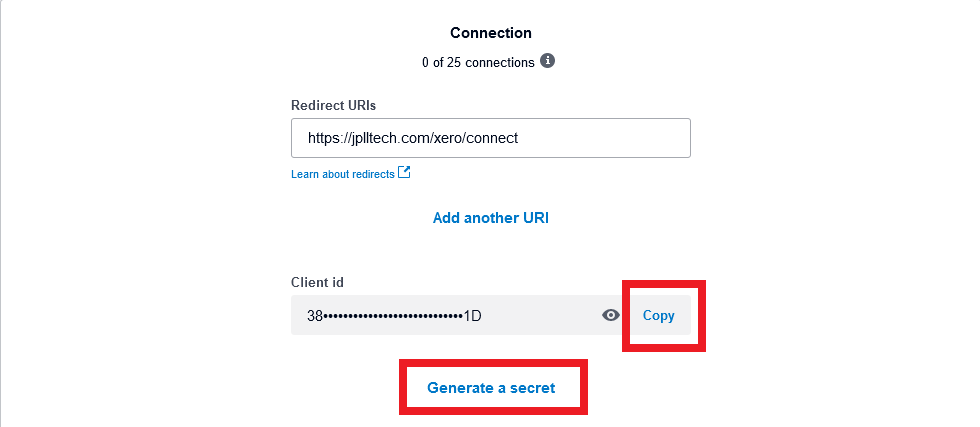
The Configuration page for your Application where your ID and Secret is located.
Once you are within the Configuration page, press the Copy button next to the
Client ID input bar and paste it on your notepad / sticky notes app. This way you can and
paste it again to the setup page of the system later.
After getting your Client ID key, press the Generate a secret button to generate a
new
secret key.
Do the same and press the Copy button next to the
Client Secret 1 or Client Secret 2 input bar and paste it on your notepad / sticky
notes app.
Once you have both of your Client ID key and Client Secret key, you can now return to the system's
setup page.
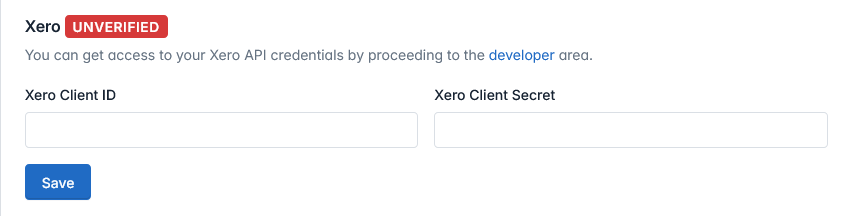
The Xero input area with unverified details.
You can now input the Client ID and Secret details as needed in the appropriate fields.
Make sure you double check the details especially your ID and Secret to make sure they are not
switched.
If everything is correct, you can now press the SAVE button to store
your API information.
After pressing the SAVE button, the system will prompt you to the
Xero
verification area.
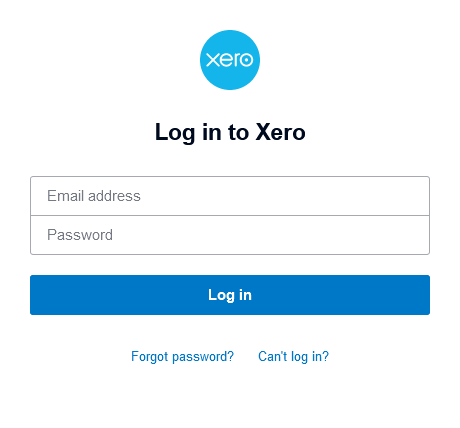
The Xero login prompt.
If your details are correct, you will either be prompted into the login area or the access
prompt.
However, if your details are incorrect, Xero's verification will return an issue.
If your Xero account is not logged in, you will need to log in your account to verify your API
information.
Once you are logged in, you can proceed to the next step to confirm your connection.
If the Xero verification returns an issue, you have to return to double check your details
and re-save.
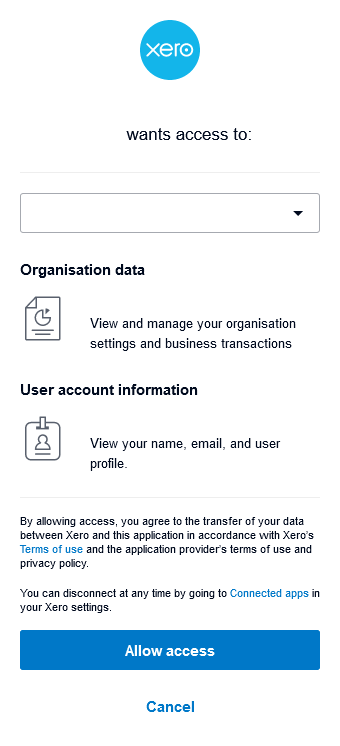
The Xero access prompt.
The prompt will require which organizations in your account should be given access to the
system.
Select the organization you would you like to authorize within the system and press the
CONTINUE button to finish your verification.
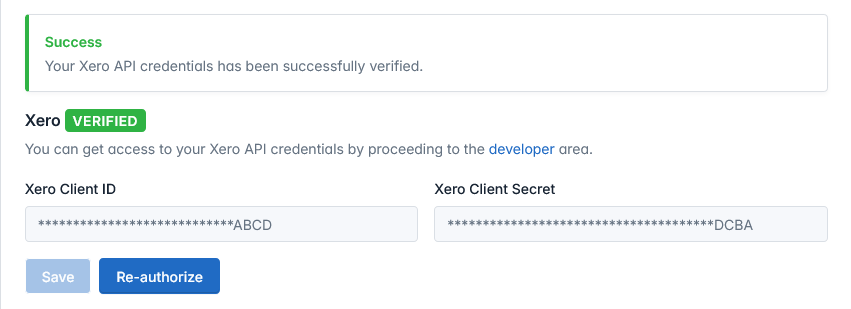
The Xero input area with verified details.
If the verification is successful, the system will show a GREEN
alert to
indicate the successful verification.
The tab next to Xero's name will also turn GREEN to indicate that
the
API is successfully verified.
However, if the verification is unsuccessful, the system will show a
RED alert to indicate the unsuccessful verification.
If this is prompted, you will need to re-authorize and re-save with the
SAVE button or the RE-AUTHORIZE button.
You need to re-authorize for every new organization you would like to provide access into
the system.
Once your Xero API is verified, you can proceed to the next step.