Revel Information
Once you register and verify your account, you will be greeted by the setup wizard. The first step
of the setup is to integrate your Revel account.
Before you start, make sure you have your Revel API
credentials like your Revel URL, Key and Secret.
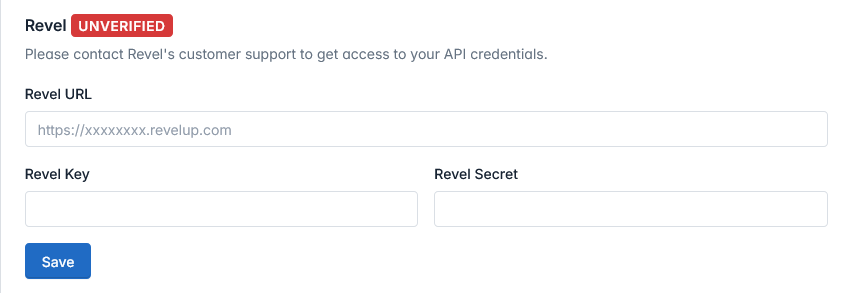 The Revel input area with unverified details.
-
Once you have your Revel URL, Key and Secret, you can input the details as needed in the
appropriate fields.
-
Make sure you double check the details especially your Key and Secret to make sure they are not
switched.
-
If everything is correct, you can now press the SAVE button to store
your API information for verification.
-
After pressing the SAVE button, the system will process and verify
the API information.
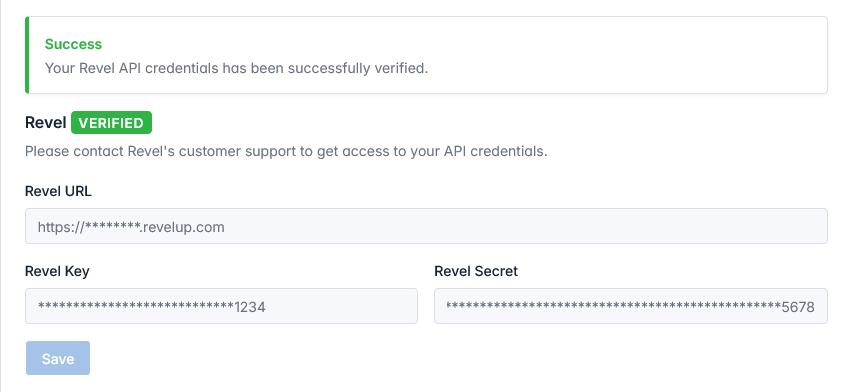 The Revel input area with verified details.
-
If the verification is successful, the system will show a GREEN
alert to
indicate the successful verification.
-
The tab next to Revel's name will also turn GREEN to indicate that
the
API is successfully verified.
-
However, if the verification is unsuccessful, the system will show a
RED alert to indicate the unsuccessful verification.
-
If this is prompted, you will need to double check the information and re-save with the
SAVE button.
Once your Revel API is verified, you can proceed to the next step.