Once your Revel and Xero API information are all set up, you can now setup your connections.
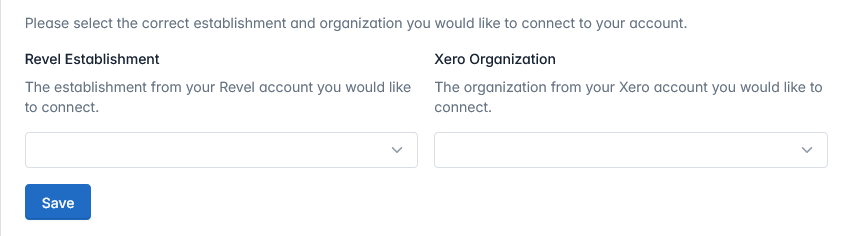
The connections area with no connections selected.
Once you reach the connections part of the setup, you can now connect your Revel Establishments
to
your Xero organizations to configure their connections.
You can select the establishment you would like to connect from the Revel dropdown.
After that, you can then select the appropriate Xero organization you would like to connect to
the
establishment, through the Xero dropdown.
Once you have selected an establishment and an organization, you can now press the
SAVE button to start establishing the connection.
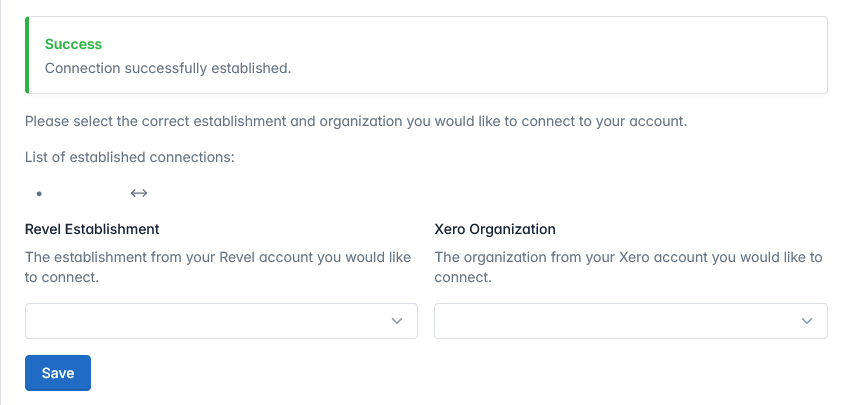
The connections area with an established connection.
If the connection is established, the system will show a GREEN alert
to
indicate the successful connection of the Revel establishment and Xero organization.
The list of established connections will then appear with the connection you just established to
confirm the connection.
However, if the connection was not established, the system will show a
RED alert to indicate the unsuccessful connection.
If this is prompted, you will need to double check the organizations and establishment and
re-save
with the SAVE button.
If you would like multiple connections, you can select and save to establish every new
connection.
Once you have established all of the connections you would like, you can proceed to the next step.