Once you have established your connections, you can now set up the accounts associated with the
organizations.
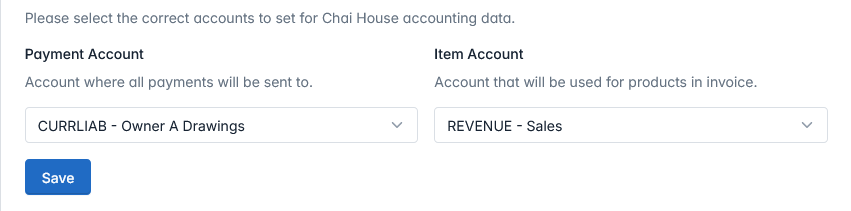
The accounts area with no accounts selected.
Once you reach the accounts part of the setup, you can now select the appropriate accounts to
connect within each organization to reflect in your invoices and items.
To correctly set up the accounts, find the name of your Organization and find the dropdowns
associated with it.
Then, you can select the appropriate account where payments should be made from the dropdown.
The same thing works with the Item account, except this is the account where all Items will be
configured.
Once you have selected the correct accounts, you can now press the
SAVE button to establish the accounts.
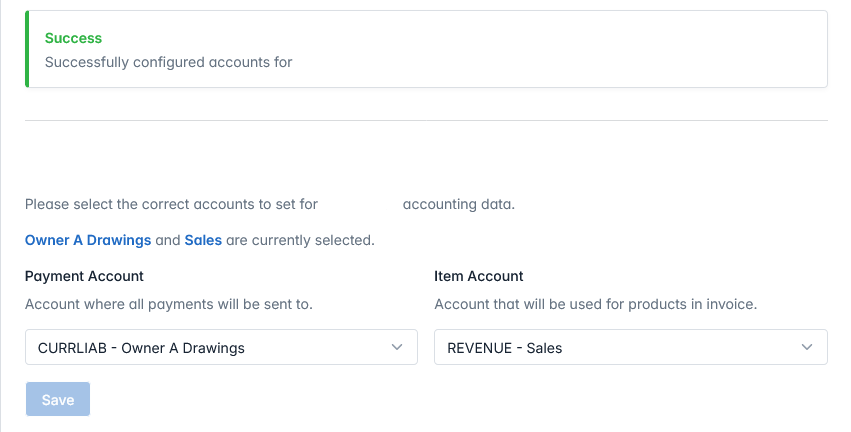
The accounts area with established accounts.
If the accounts are successfully configured, the system will show a
GREEN alert to indicate the successful configuration.
The list of the selected accounts will then appear with the accounts you have configured.
However, if the accounts are not configured, the system will show a
RED alert to indicate the unsuccessful configuration.
If this is prompted, you will need to double check the accounts and re-save
with the SAVE button.
If you have multiple connections, you have to configure all the accounts associated to them
as well.
Once you have configured all of the accounts for all of your connections, you can now continue to
the dashboard to finish the setup.